Monday, 16 August 2010

Project 4 : Urbanity

A picture of my group with our project to execute the countdown for merdeka.
This countdown will be held in Youth Jam 2010 at Penang Times Square
on 30th August 2010.

See you there!

Hatching

Here's a picture taken during convocation week.
Location : Tapak CONVEX

My Hatching

Thursday, 12 August 2010

Project 3C : 6 Balloon Black Bamboo Box

Sketches and sticks.

First square plane.

Followed by more levels.

and more levels...

Into the second wing extension. Previous sketch cannot be applied due to its height.

Standing tall.

Then we have the covers.

Paper layering with starch mixture.


Layer of black spray to finish.

The picnic-basket-cover-look-alike covers attached.


The lock.

Name : picnic
Created 12 August 2010

Sunday, 8 August 2010

Project 3B : My Black Box

It all started with my all new sketch book.

The cut and paste of my photocopied sketches. I compiled it in A3 size.

The trial A3 sized photocopy of the compiled sketches.

The trial washing :)

Then we have the master copy.

Friday, 6 August 2010

Thought of the day - Dream or Vision?


Dreaming is an act of pure imagination, attesting in all men a creative power, which if it were available in waking, would make every man a Dante or Shakespeare.  ~H.F. Hedge

Dreams are virtual. A dream might come true, but also might not be true in reality because some of our dreams are far beyond our limits and rules in reality, they aren't logic..
A dream can only be a dream unless we see it as a vision in reality.

Dreams are free, so free your dreams.  ~Astrid Alauda

Vision is something we set as a long term goal in life, where it is achievable in reality.
A vision sets a path in our life. We have to see our vision first in order to get to our destination in life. So, if we act according to our vision, we will walk in the path that leads us to it.

Vision without action is merely a dream. Action without vision just passes the time. Vision with action can change the world.  ~Barker, Joel A.

Project 3A : Casket for me

This was how I started my idea though sketches in my note book.
Our task was to draw a casket for ourselves, 
a sarong, 
a picture of how we are put in our caskets,
how will the casket be carried
and
another casket made out of bamboo.

As for me, I did a casket with floral motifs.

Here's the weaved bamboo version.

The final product.

Tuesday, 3 August 2010

Esquisse 1 : Dot.Line.Shape.

Dots and Lines are one of the most basic and important elements
to create shape and space.
2 dots form a line. Repeating of lines can form a plane in 2-dimension.
And when different planes clashes, a 3-dimensional body of an object is formed.

Here are some chosen pictures of the buildings at school of HBP and my sketches.

The dots are hard to do compared to lines as it requires a lot of patience.
I should have added more strong and bold dots.
Good try though..

I chose to do with vertical lines because it is easier to move the pencil
vertically rather than horizontally.

Now I understand how important it is to know the true definition 
and concept of dots & lines :)

Monday, 2 August 2010

Esquisse 7 : Cubes

All about cubes...

Task : To draw as many cubes as possible on this A3 paper, showing opacity, translucency, transparency, layers, shade and shadow.

Again, I've learnt how to let loose and be random while drawing and positioning the cubes :)

Esquisse 6 : Grid & Scale

We started with 'satu jengkal' as our own human scale.
Grids are then formed when we started dividing 'satu jengkal' to 5 parts.
Next, we divided the space again, forming 1:10 scale.

Next task was to draw our own body according to scale.
Scales required - 1:10, 1:50, 1:100.

Notice that I made a mistake when drawing the 1:50 body scale. It was actually the scale of 1:20. Good experience anyway :)

Project 2C : The 101 Mask

My Papier Mache masks

Materials:
Tapioca flour
White paper
Old news paper
Poster colours
Aluminium foil

Tools:
Bowl & spoon
Paint brushes
Container


HOW-TO:

The mould
1. Place aluminium foil on your face.
2. Shape the foil by pressing it onto your face.
3. Take the foil away.

The Making of the mask
1. For layer 1, use white paper.
2. Tear the paper into strips.
3. Prepare a bowl of tapioca starch mixture

(add boiling water into a bowl with tapioca flour and mix evenly).
4. Dip the paper strips into the starch mixture.
5. Place the wet strip horizontally on the aluminium mould (remember to put some support underneath the mould).
6. Dry the first layer.
7. Continue layer 2 with white paper, placing them vertically.
8. Repeat the layering with news paper strips for layer 3, then white paper for layer 4 & 5.
9. Dry the mask.


Painting
1. Once the mask is dried, painting can be done with poster colours.


My Products:
Mask 1 - My actual skin tone.
Mask 2 - My smiling face in black and white.

This is my first time of making my own masks.
I am actually amazed by the strength of starch when it gets dried up. It does hold the layers well.
The most important thing is to start off with the first layer correctly. Layer 1 has to be precise in terms of the contour of the face especially at the eye brow area, the nose, the cheeks and the chin. As for me, I have sharp features at my cheeks and chin.
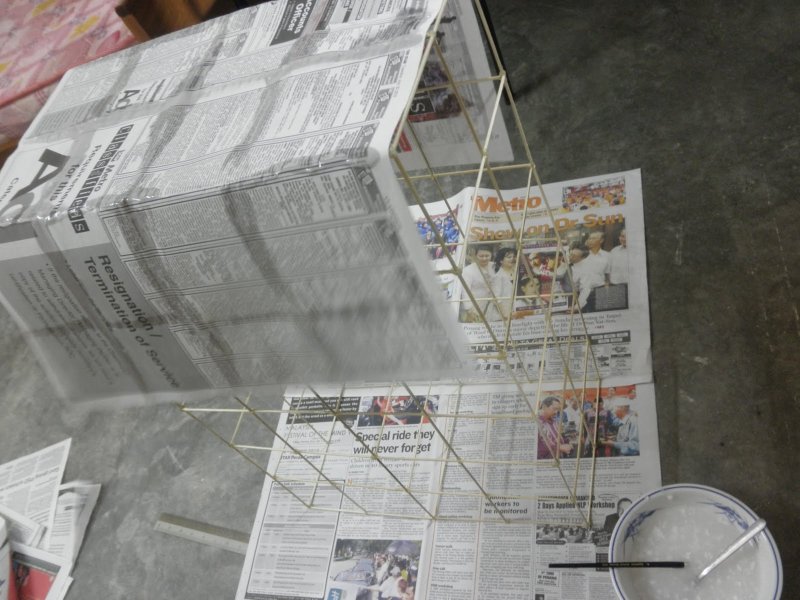